
Step 1: Create and Sign In to Your Incogniton Account
Download and install Incogniton, then create an account and sign in to the application. Once you’re signed in, you can create the browser profile that will use your IPcook proxy.
Step 2: Create Your IPcook Account
Before adding a proxy to Incogniton, you need an IPcook account and an available proxy.
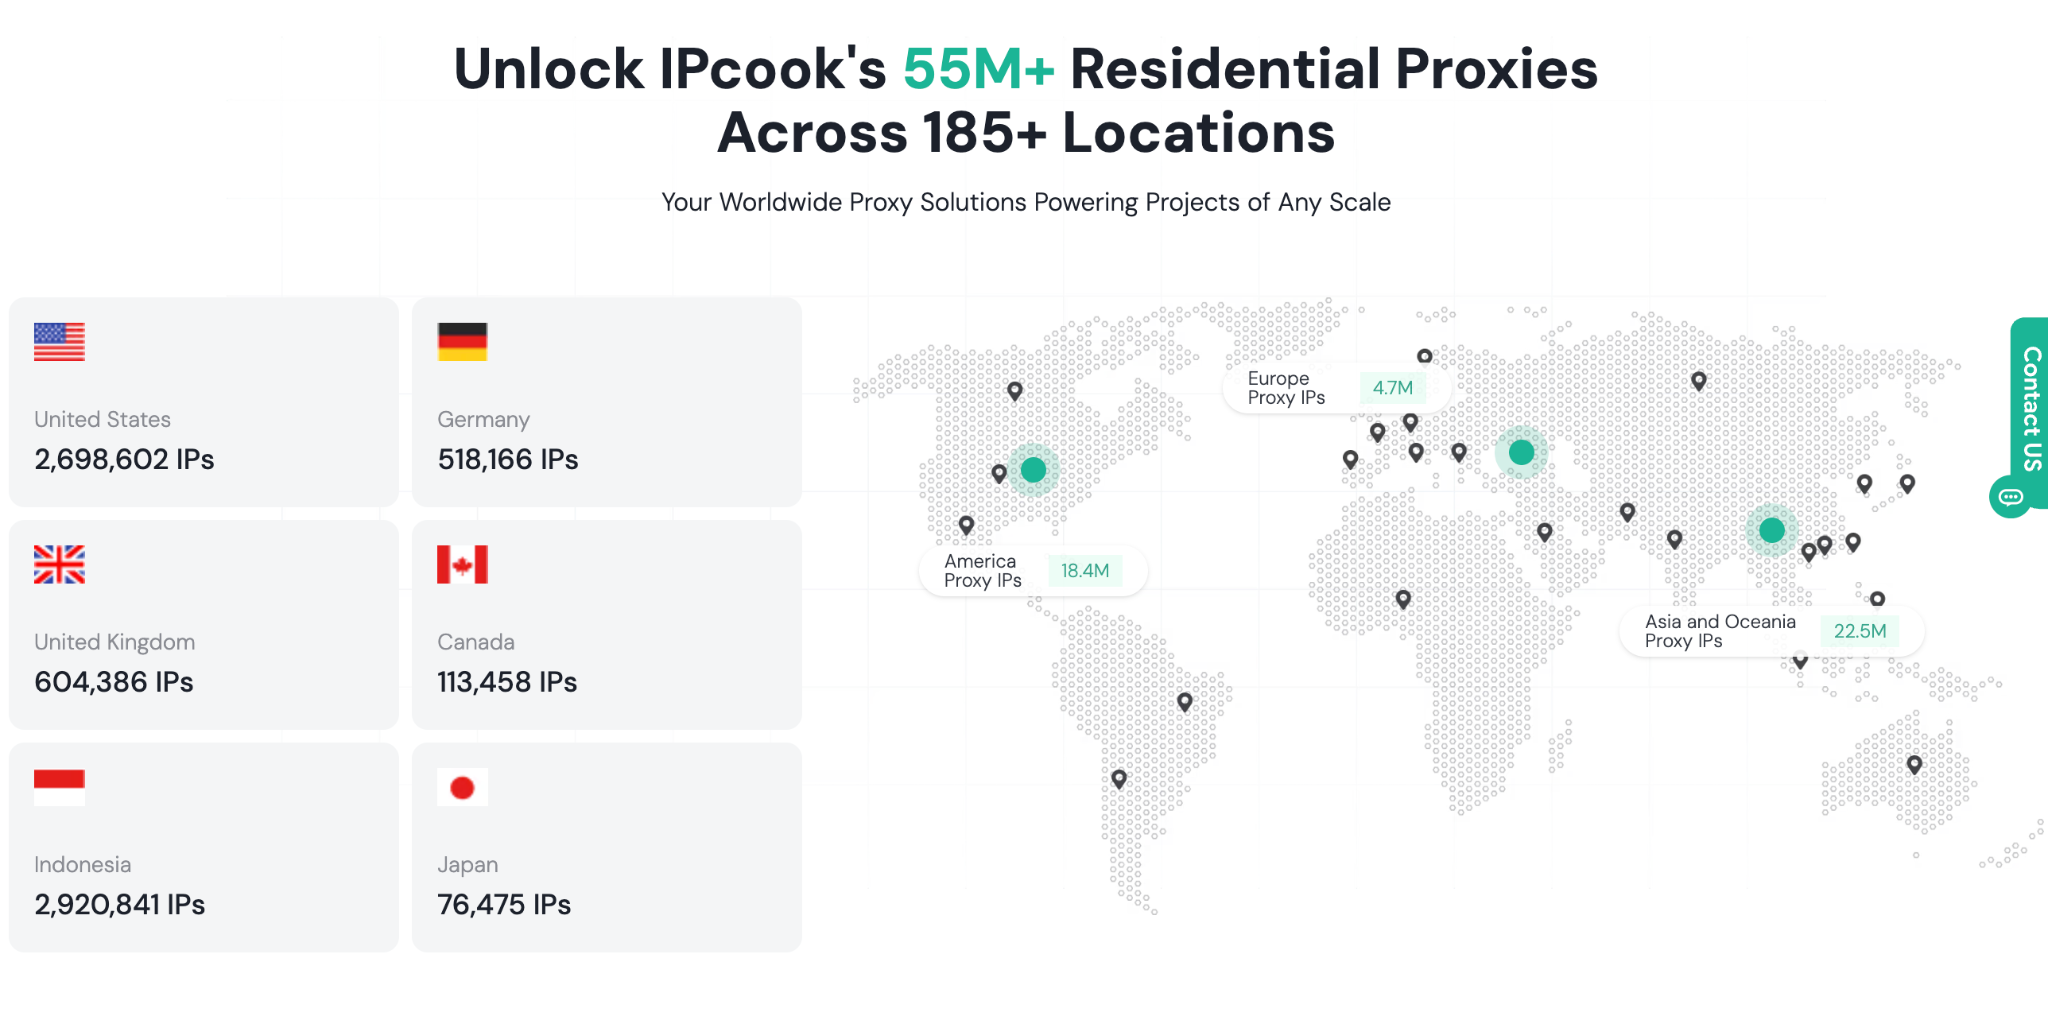
Sign in to IPcook or create an account if you haven’t done so already. From the IPcook dashboard, select the proxy service you want to use and configure the options available for that proxy.
IPcook supports residential, ISP, and datacenter proxies. Residential proxies are suited to use cases that require rotating IPs and precise location targeting, while ISP proxies provide static IPs for longer-lasting connections. Built for high-speed, scalable operations such as bulk web scraping and latency-sensitive tasks.
Depending on the proxy type, IPcook lets you configure options such as country, city, protocol, and rotation settings.
After configuring the proxy, generate the proxy details you will use in Incogniton.
Step 3: Configure Your IPcook Proxy
Once your IPcook proxy has been generated, retrieve its connection details.
For a proxy using username and password authentication, you need the host, port, username, and password. IPcook can provide these details in a format such as:
host:port:user:pass
If you use IP-based authentication, make sure the relevant IP address has been added to your IPcook whitelist before connecting the proxy through Incogniton.
Keep these details available because you’ll enter them when configuring the browser profile in the next step.
Step 4: Add Your IPcook Proxy to Incogniton
Open Incogniton and create a new browser profile.
In the profile settings, open the Proxy section and select the connection type that corresponds to your IPcook proxy.
Enter the IPcook proxy details in the appropriate fields:
- Host/IP: Your IPcook proxy host or IP address
- Port: The port supplied by IPcook
- Username: Your IPcook username
- Password: Your IPcook password
IPcook supports HTTP and SOCKS5 connections, so select the protocol that matches the proxy you configured.
After entering the details, use Incogniton’s proxy check to test the connection. If the test is successful, save the profile.
Step 5: Save and Launch the Profile
Once the proxy check succeeds, save the browser profile and launch it.
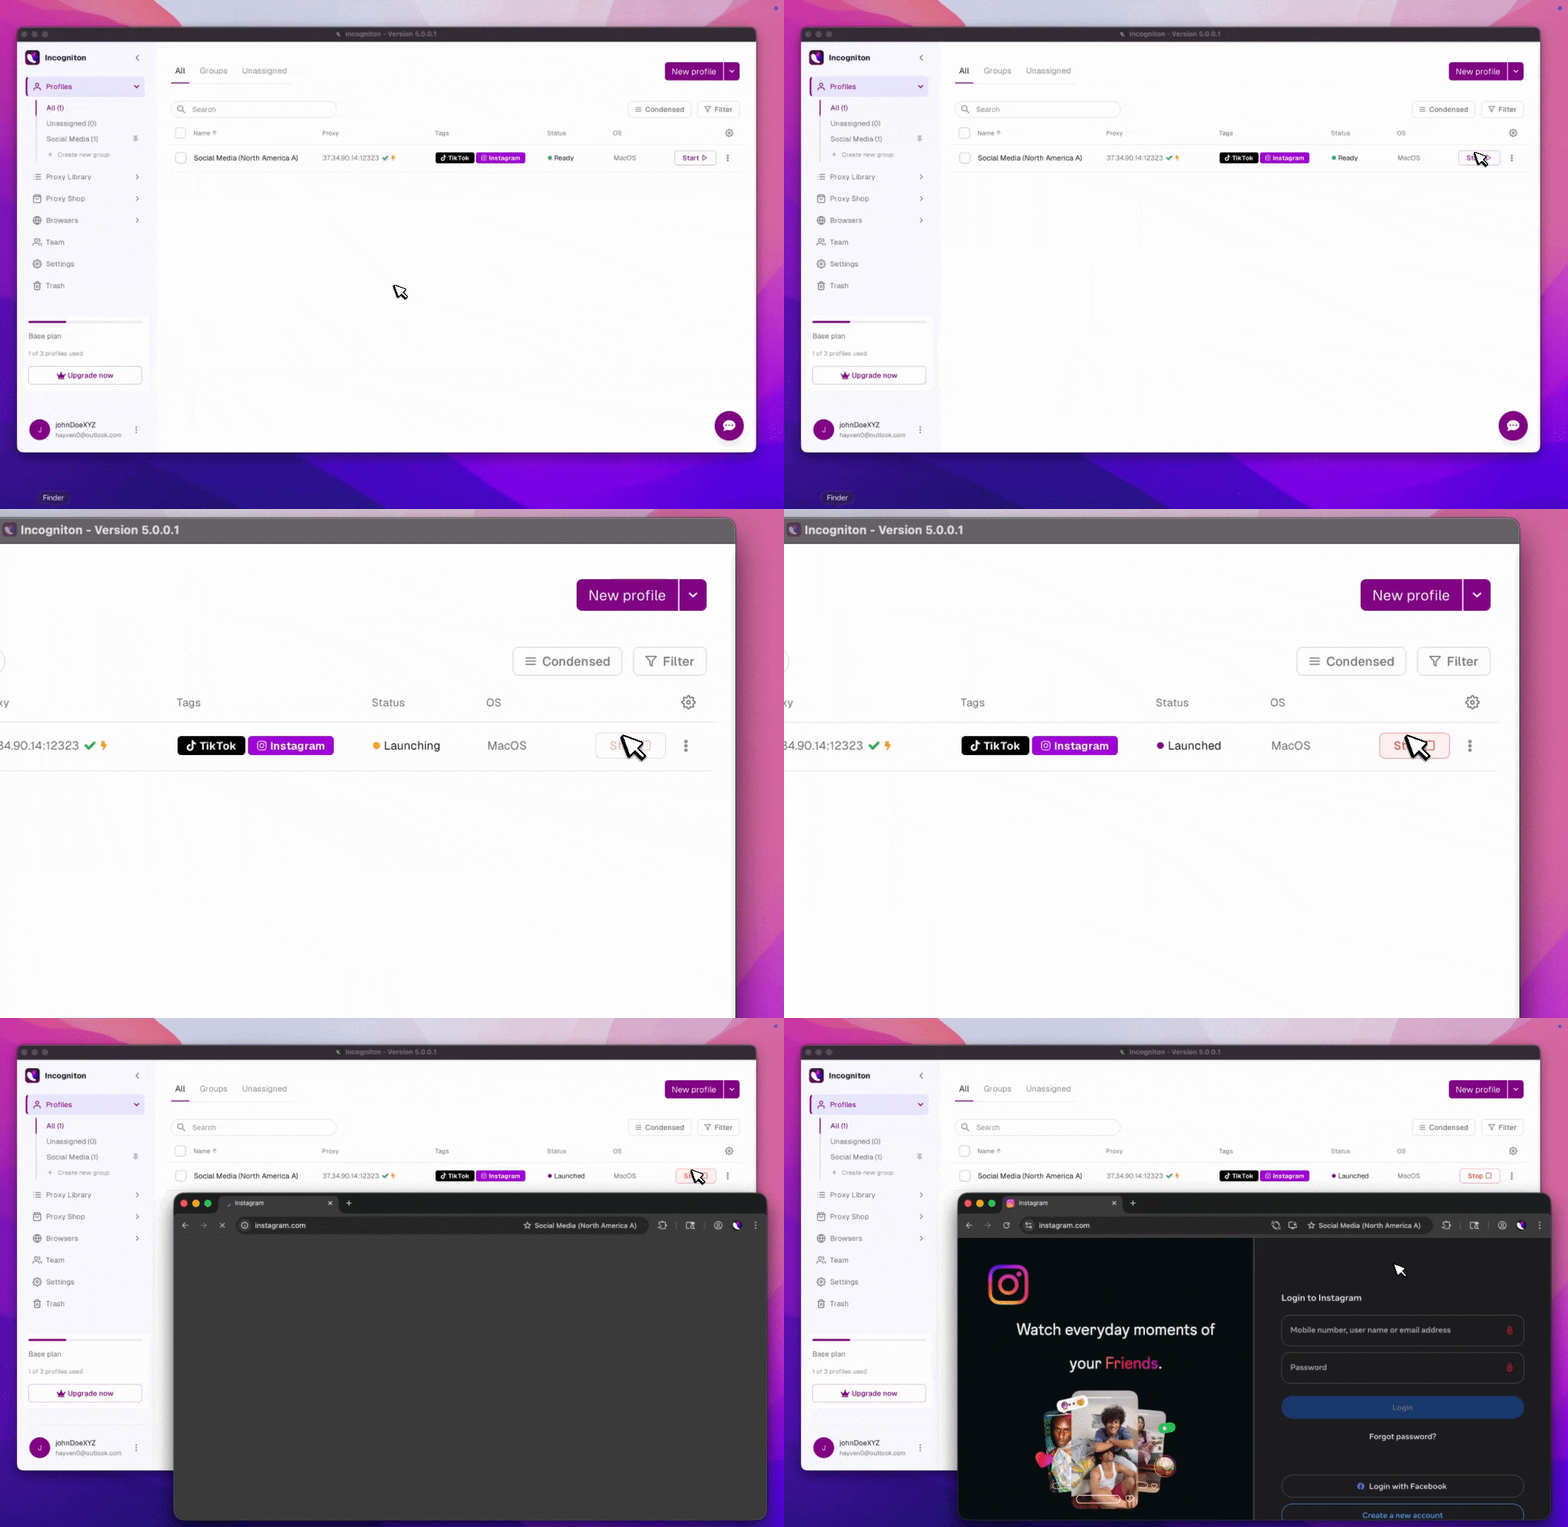
The profile will use the IPcook proxy connection you configured. You can create additional Incogniton profiles and assign different IPcook proxies to them when you need separate proxy connections.
Step 6: Verify Your IPcook Proxy Connection
After launching the profile, check the connection using an IP-checking service.
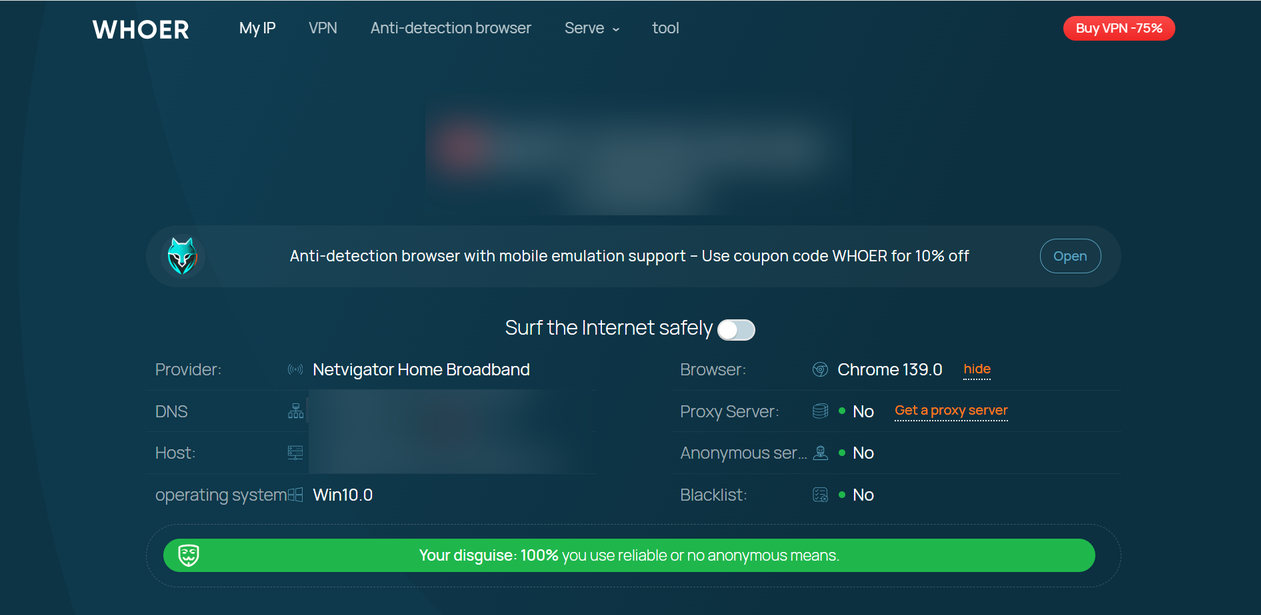
The displayed IP should correspond to the IPcook proxy you configured. If you selected a specific location in IPcook, check that the detected location also matches your configuration.
For rotating residential proxies, the IP can change according to the rotation settings you selected in IPcook. If you need a static connection, IPcook’s ISP proxies are designed for longer-term use.
Conclusion
Your IPcook proxy is now connected to an Incogniton browser profile. The proxy configuration remains associated with that profile, allowing you to launch the profile with its IPcook connection without entering the proxy details again.
You can repeat the process for other profiles whenever you need to use additional IPcook proxies with Incogniton.

