
VPNs are designed to protect your online privacy by encrypting your internet traffic and hiding your IP address. But they're not perfect.
For casual browsing, a DNS leak is a privacy issue. For someone managing multiple online accounts, scraping websites, or running advertising campaigns, it makes work even harder than it already is.
In this guide, we'll explain what a DNS leak is, why VPN users experience it, how to test for it, and when an anti-detect browser with properly configured proxies may offer a more reliable solution.
What Is a DNS Leak?
The Domain Name System (DNS) is like the internet’s phonebook. When you type google.com into your browser, your computer reaches out to a DNS server to translate that human‑friendly name into a machine‑readable IP address (like 142.250.80.46). Normally, this request goes to the DNS servers provided by your ISP. That means your ISP can see every website you visit, even if you later use HTTPS; the initial domain lookup is often unencrypted and logged.
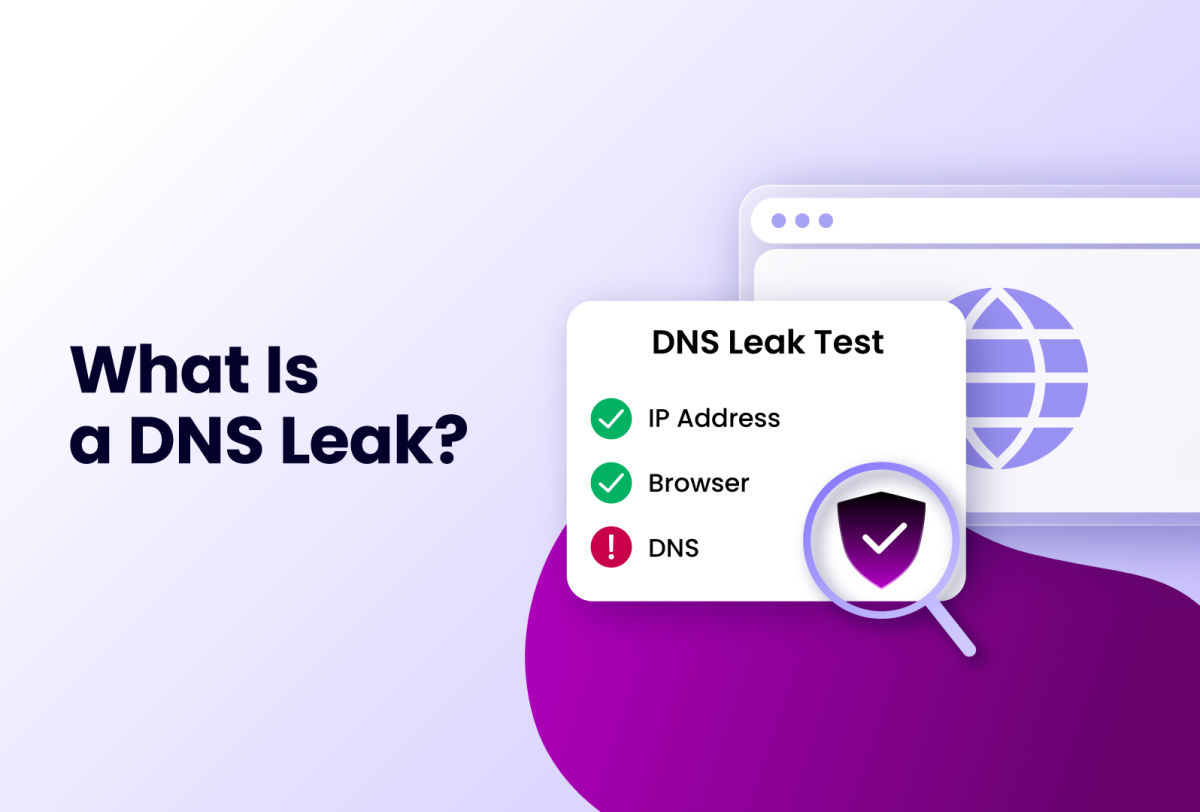
Now, a DNS leak occurs when DNS queries bypass the secure tunnel the VPN creates and are sent directly to your ISP’s DNS servers instead. In other words, the digital “phonebook” lookups escape the encrypted path you intended, revealing your real IP address and your browsing destinations to anyone watching.
Imagine you’re connected to a VPN server in Germany, but your DNS queries are still routed through your local ISP in New York. To any website you visit, it looks like you’re in Germany, but your ISP in New York (and anyone monitoring that network) can see every domain you resolve. This not only breaks your anonymity but can also cause location mismatches that trigger suspicion on platforms like Facebook, Google, or Amazon.
How Does a DNS Leak Happen?
DNS leaks are most often discussed in the context of VPNs, since many VPNs encrypt your browsing traffic without fully controlling how your DNS requests get resolved.
There's rarely a single dramatic cause. Usually it's a mix of small misconfigurations working together. The most common culprits:
- Operating system overrides VPN DNS: If your OS is still pointed at your ISP's DNS servers, or a public resolver like 8.8.8.8, those requests resolve outside the VPN tunnel even while the rest of your traffic stays protected.
- IPv6 leaks: Most VPNs are built to handle IPv4 traffic. If your network also supports IPv6, DNS requests can travel over the IPv6 path instead, bypassing the VPN entirely. This is especially common on home routers that assign both IPv4 and IPv6 addresses by default.
- Browser uses Secure DNS: Browsers with built-in DNS-over-HTTPS or DNS-over-TLS settings can quietly override your system or VPN DNS configuration, sending queries straight to their own default resolver, often Google or Cloudflare, instead of the one your VPN provides.
- ISP interception: Some ISPs intercept and redirect DNS traffic regardless of what server you've configured, a practice known as DNS hijacking or transparent DNS proxying. It can override your settings with no visible warning.
In many cases, a DNS leak isn't obvious. Your IP might check out fine on a simple "what's my IP" test, while your DNS queries are still taking a completely different route. That's why testing your connection directly matters more than trusting a surface-level check.
Why DNS Leaks Are Dangerous
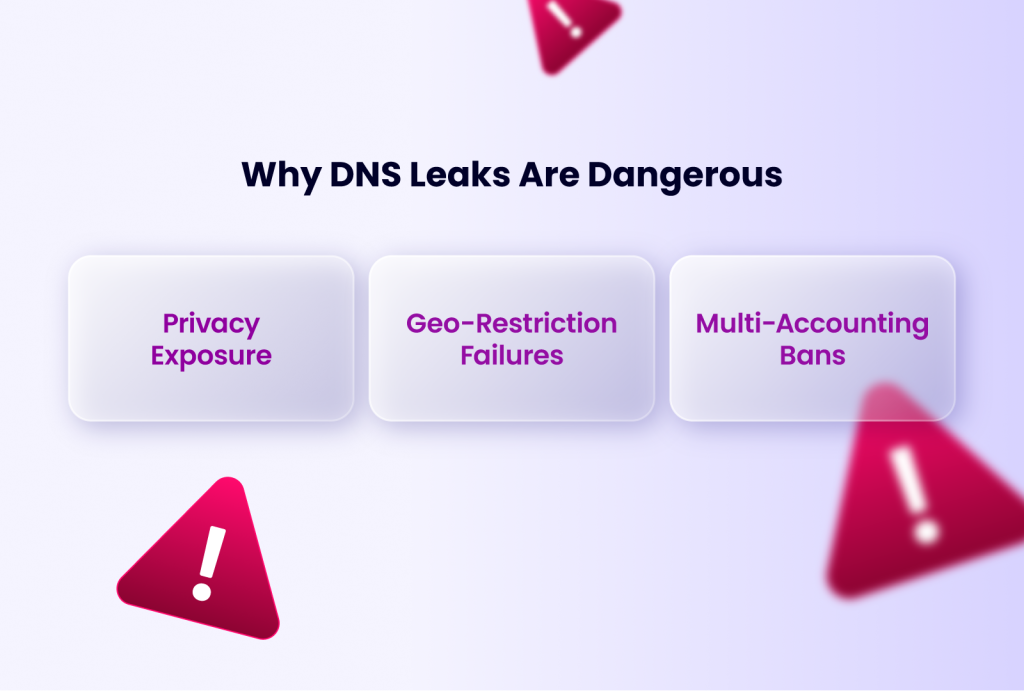
A DNS leak isn't just a technical glitch. It's a direct path to de-anonymisation, account bans, and legal exposure. Here's what's actually at stake:
- Privacy Exposure: Your ISP and anyone else with access to that network can log every domain you visit. That data gets sold to advertisers, handed to government agencies on request, or exposed in a breach, any of which can tie your real identity back to your online activity.
- Geo-Restriction Failures: If you're using a VPN to appear in a different country, but your DNS queries still reveal your real location, streaming services, banking platforms, and e-commerce sites will catch the mismatch fast and block you outright.
- Multi-Accounting Bans: For professionals managing multiple ad accounts, social profiles, or storefronts, a DNS leak is one of the worst things that can happen. Platforms like Facebook and Google cross-reference DNS fingerprints against IP geolocation, and a single mismatch is enough to link every account back to one source, triggering bans across the board. (We covered this in our Pixelscan article: even a flawless canvas fingerprint means nothing if your network layer is leaking underneath it)
The bottom line: a DNS leak turns your VPN into a fig leaf. It's the first thing a determined adversary checks, and it's also the easiest thing to fix, once you know it's there.
How to Test for a DNS Leak in 2026
Testing for a DNS leak is straightforward and takes less than a minute. Here’s a step‑by‑step approach that works whether you’re on a regular browser, a VPN, or an Incogniton profile with a proxy attached.
Step 1: Visit a DNS Leak Test Site
The fastest way is to use a dedicated leak‑testing service like BrowserLeaks.com/dns, Whoer.net, and IPLeak.net
Step 2: Compare the Results
Load the test page while connected to your proxy or VPN. Look at the IP addresses listed under “DNS Servers.” If any of them belong to your real ISP, you have a leak. For example, if you’re supposed to be in the UK via a London proxy, but the DNS servers show your home ISP in Texas, the leak is confirmed.
What to Do to Fix DNS Leaks
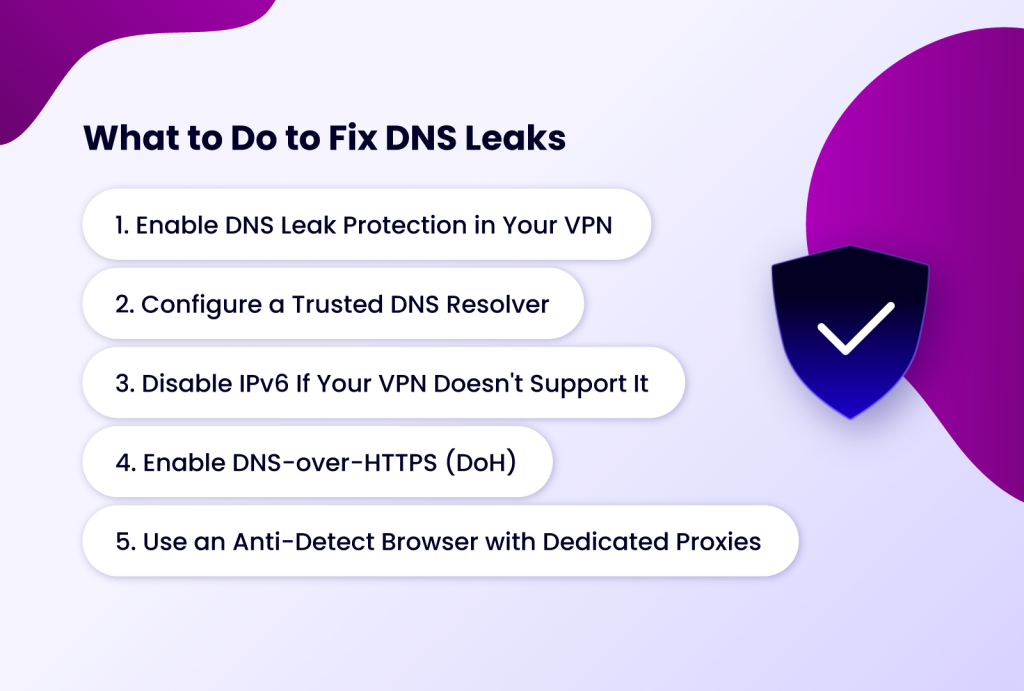
Here's how to fix a DNS leak, starting with the simplest solutions.
1. Enable DNS Leak Protection in Your VPN
Since DNS leaks most commonly occur when using a VPN, this should be your first step.
Many modern VPN providers include built-in DNS leak protection, which forces all DNS queries to travel through the VPN's encrypted tunnel instead of your ISP's DNS servers.
Depending on your VPN provider, this feature may be called:
- DNS Leak Protection
- Private DNS
- Secure DNS
- Block Non-VPN Traffic
If your VPN also includes a Kill Switch, enable it as well. This prevents your device from sending traffic outside the VPN if the connection suddenly drops. After making these changes, run another DNS leak test to confirm that your DNS requests are no longer exposing your real location.
2. Configure a Trusted DNS Resolver
If your operating system is still using your ISP's DNS servers, it may ignore or override your VPN's preferred resolver.
You can manually configure your device to use a trusted public DNS service instead, such as:
- Cloudflare — 1.1.1.1 and 1.0.0.1
- Quad9 — 9.9.9.9
- Google Public DNS — 8.8.8.8 and 8.8.4.4
This doesn't replace a VPN, but it reduces the chances of your ISP handling DNS requests if your VPN isn't configured correctly.
3. Disable IPv6 If Your VPN Doesn't Support It
Many VPN services primarily route IPv4 traffic. If your network also supports IPv6, DNS requests may bypass the VPN entirely. If your VPN provider doesn't explicitly support IPv6, disable it on your network adapter or router and test again. This is one of the most common causes of DNS leaks, particularly on home networks.
4. Enable DNS-over-HTTPS (DoH)
DNS-over-HTTPS (DoH) encrypts DNS lookups before they're sent across the network, making them harder for third parties to intercept or monitor.
Most modern browsers support DoH.
- Chrome and Microsoft Edge: Settings → Privacy & Security → Use Secure DNS
- Firefox: Settings → Network Settings → Enable DNS over HTTPS
While DoH adds another layer of protection, it isn't a replacement for a properly configured VPN or proxy. Think of it as an extra safeguard rather than a complete solution.
5. Use an Anti-Detect Browser with Dedicated Proxies
If your goal extends beyond privacy, for example, managing multiple social media accounts, e-commerce stores, advertising accounts, or browser identities, a VPN alone may not be enough.
The reason is simple: VPNs operate at the device level, meaning every application shares the same network connection. While this is ideal for encrypting traffic, it makes it difficult to maintain completely separate browser identities.
An anti-detect browser takes a different approach.
Instead of routing your entire computer through one VPN connection, anti-detect browsers like Incogniton let you assign a dedicated proxy to each browser profile. Every profile has its own browser fingerprint, cookies, storage, geolocation, timezone, and network settings, making each one appear as a separate device.
This approach also helps maintain consistency between your browser fingerprint and your network identity, something websites often check when detecting suspicious activity. If your browser says you're in London, but your DNS requests reveal your ISP in another country, that inconsistency can raise red flags. Using dedicated proxies inside isolated browser profiles helps avoid these mismatches.
Conclusion
When it comes to DNS leaks, one rule of thumb to follow is this: Never assume your privacy setup is working simply because your IP address has changed. After configuring your VPN, proxy, or browser profile, run a DNS leak test using tools such as BrowserLeaks, IPLeak, or Whoer.
Verify that your DNS servers match your VPN or proxy location and that your ISP's DNS servers don't appear in the results. A successful DNS leak test takes less than a minute, but it can prevent privacy leaks, account verification issues, and browser identity mismatches later.
For most users, enabling DNS leak protection and testing regularly will solve the problem. But if your work depends on maintaining separate browser identities, such as managing multiple social media accounts, running advertising campaigns, or conducting web automation, consider moving beyond a traditional VPN. Using an anti-detect browser like Incogniton with dedicated proxies provides a more robust foundation for privacy and multi-account management.