
Step 1: Create and Sign In to Your Incogniton Account
Visit the official Incogniton website and download the application for your operating system (Windows or macOS).
Install the application and complete the setup.
Register for an Incogniton account if you do not already have one, then open the app and sign in.
Once signed in, proceed to set up SX Proxy.
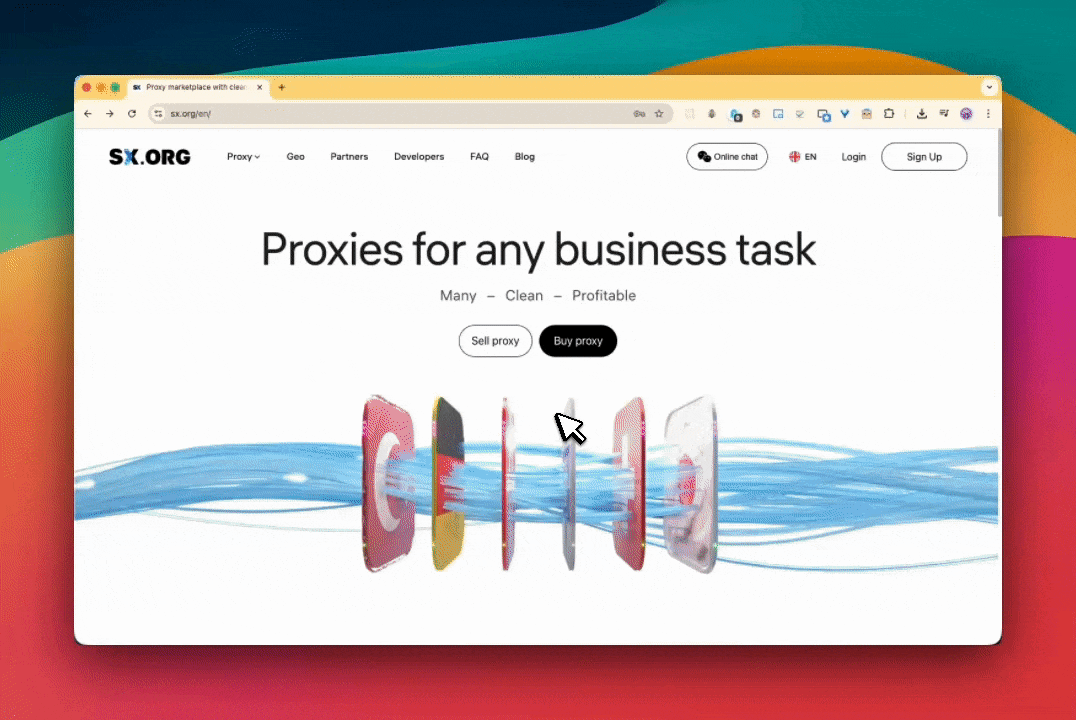
Step 2: Set Up Your SX Proxy Account
Sign up for an SX Proxy account or sign in if you already have one.
From your dashboard, create a new proxy and select the appropriate proxy type based on your workflow requirements. SX Proxy supports multiple proxy types, including mobile, residential, and corporate options, depending on availability.
After creating the proxy, make sure it is active and ready for use.
Step 3: Create an SX Proxy and Retrieve Credentials
In your SX Proxy dashboard, complete the proxy creation process.
Once the proxy is ready, copy the provided connection details:
- Proxy host or IP address
- Port
- Protocol (HTTP/HTTPS or SOCKS5)
- Username and password, if authentication is required
These credentials will be used to connect the proxy to your Incogniton browser profile.
Step 4: Integrate Your SX Proxy With Incogniton
Open the Incogniton app and navigate to Profile Management, then create a new browser profile or edit an existing one.
In the browser profile settings screen, open the Proxy section and enter your SX Proxy details, including the host or IP address, port, protocol, and authentication credentials if required.
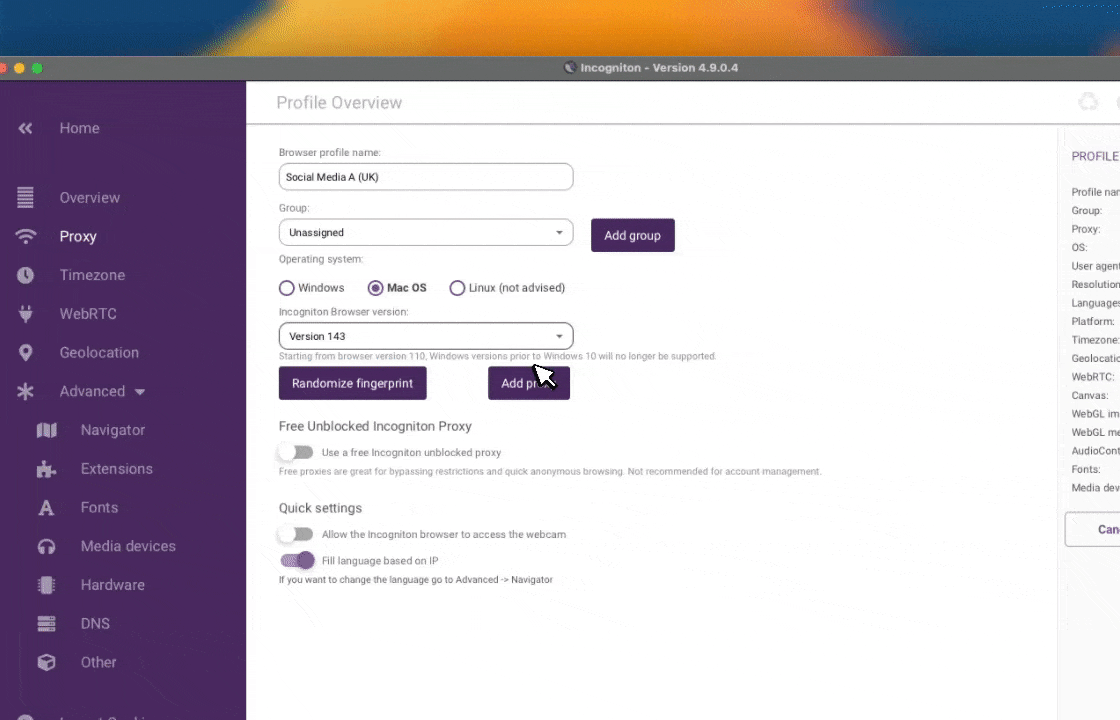
Use Check Proxy to verify the connection, then Create Profile or Update Profile save the profile once verification succeeds.
Step 5: Launch and Verify Your Profile
In Incogniton, click Start on the configured profile.
Within the profile’s browser window, visit an IP‑checking service to confirm the profile is using the expected IP address and location.
After verification, the profile is ready for production use with its own isolated browser environment and dedicated SX Proxy network identity.
Conclusion
When Incogniton is combined with SX Proxy, browser environments and network routing are handled as separate layers. Each profile runs within its own defined context, without inheriting state or network characteristics from other profiles.
This setup is suited to workflows that depend on long‑term consistency across multiple profiles, where controlled separation and repeatable behaviour are essential for day‑to‑day operations.